Installing hardwood flooring is one of the most effective ways to elevate the beauty, value, and durability of a home. However, achieving professional results requires more than simply laying boards across a surface. Proper planning, preparation, and technique are essential to ensure the flooring remains stable and attractive for many years. Following proven Hardwood Floor Installing Tips can make the difference between floors that last decades and those that develop gaps, squeaks, or uneven surfaces.
Whether you are renovating an existing home or installing flooring in a new build, understanding the correct installation process is critical. From preparing the subfloor to controlling humidity levels, each step plays a role in the longevity of the finished floor.
Why proper hardwood floor installation matters
Hardwood flooring is a natural material that responds to environmental conditions such as humidity and temperature. Without proper installation techniques, wood planks can expand, contract, or shift over time. This movement may lead to warping, buckling, or separation between boards.
Applying the right Hardwood Floor Installing Tips helps prevent these issues and ensures the flooring maintains its structural integrity. A properly installed hardwood floor distributes weight evenly, stays securely attached to the subfloor, and allows the wood to naturally adjust to seasonal changes.
In addition, professional installation methods protect your investment. Hardwood flooring often represents a significant portion of a renovation budget, so taking the right steps during installation helps maximize both durability and long-term appearance.
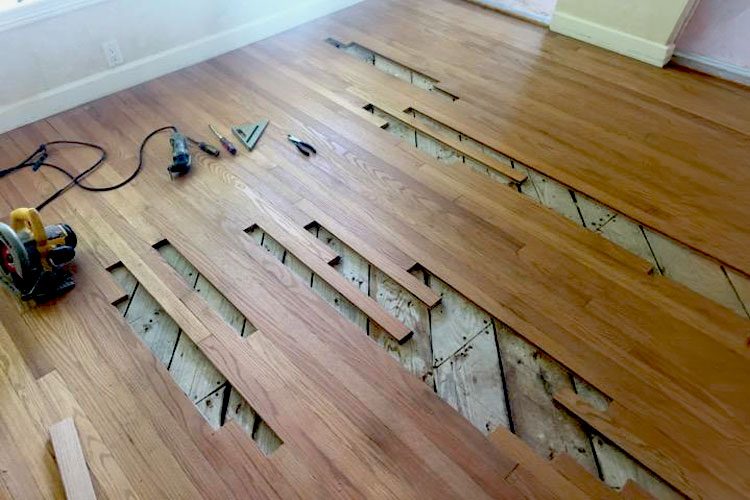
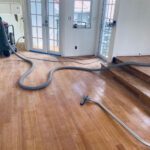
Tip 1: Prepare the subfloor carefully
One of the most important steps in hardwood flooring installation is preparing the subfloor. The subfloor serves as the foundation for the entire flooring system. If it is uneven, dirty, or structurally weak, the hardwood planks will not sit properly.
The subfloor should be clean, dry, and level before installation begins. Any dips, bumps, or debris can cause the boards to shift or produce noise when walked on. Ensuring the subfloor is smooth and structurally sound creates a stable base that supports the entire floor.
Tip 2: Allow wood to acclimate
Hardwood flooring should always acclimate to the environment where it will be installed. Wood expands and contracts depending on moisture levels in the air. Allowing the material to adjust to indoor conditions helps minimize future movement.
Most professionals recommend storing the hardwood planks inside the home for several days before installation. During this time, the wood adjusts to the temperature and humidity of the space, reducing the risk of gaps or buckling later on.
Tip 3: Maintain proper moisture control
Moisture is one of the biggest threats to hardwood flooring. Excess moisture can cause planks to swell, while extremely dry conditions may lead to shrinking and cracking.
To avoid these problems, installers should test moisture levels in both the wood and the subfloor before installation. Using moisture barriers when necessary can also protect the floor from humidity that may rise from below.
Following these Hardwood Floor Installing Tips ensures the flooring remains stable and resistant to environmental changes over time.
Tip 4: Use the right installation method
Different hardwood floors require different installation techniques depending on the type of flooring and subfloor. Common installation methods include nail-down, glue-down, and floating systems.
Each method has advantages depending on the project. Nail-down installation is often used for solid hardwood on wood subfloors, while glue-down methods work well with concrete surfaces. Choosing the correct method ensures the floor stays secure and performs as expected.
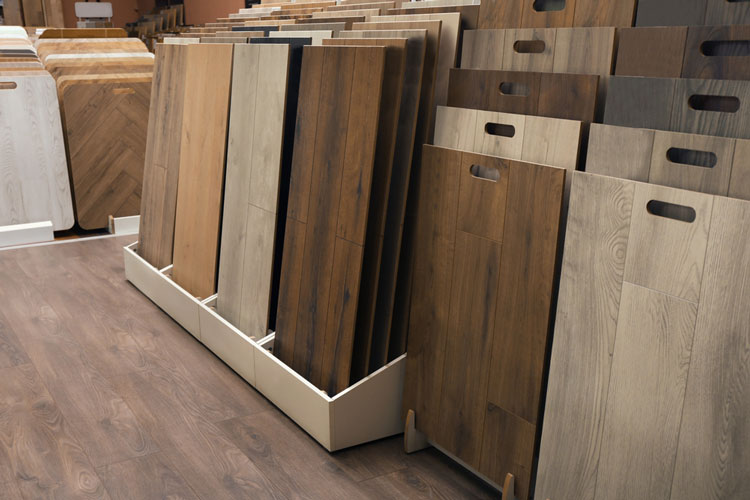
Tip 5: Plan the layout before installation
Before installing any boards, it is important to plan the layout of the floor. This includes determining the direction of the planks and calculating how the boards will align across the room.
Typically, hardwood planks are installed parallel to the longest wall or in the direction of natural light to enhance the room’s visual flow. Planning the layout helps avoid awkward cuts at walls or uneven spacing that could affect the overall appearance.
- Measure the room dimensions carefully
- Determine the plank direction for visual balance
- Calculate spacing to avoid narrow edge boards
Careful planning ensures the final floor looks balanced and professionally installed.
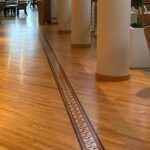
Tip 6: Leave expansion gaps
Because hardwood naturally expands and contracts, installers must leave small expansion gaps around the edges of the room. These gaps allow the flooring to adjust to seasonal humidity changes without pressing against walls or structures.
Expansion gaps are typically hidden by baseboards or molding after installation is complete. Although they are not visible in the finished floor, they play an essential role in preventing buckling and other structural problems.
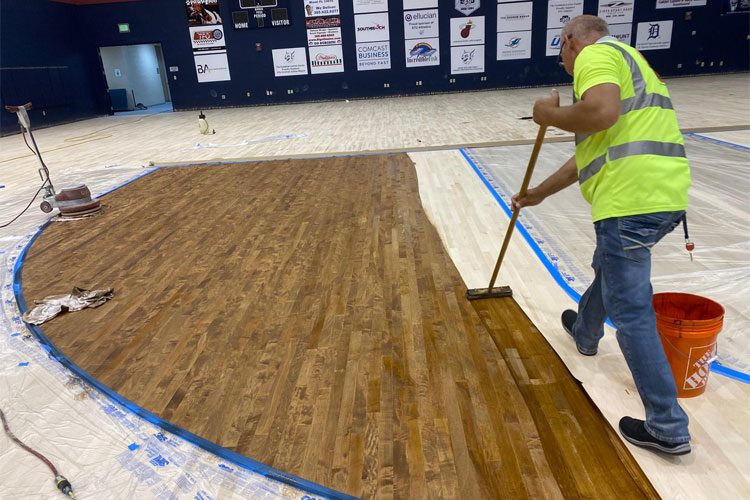
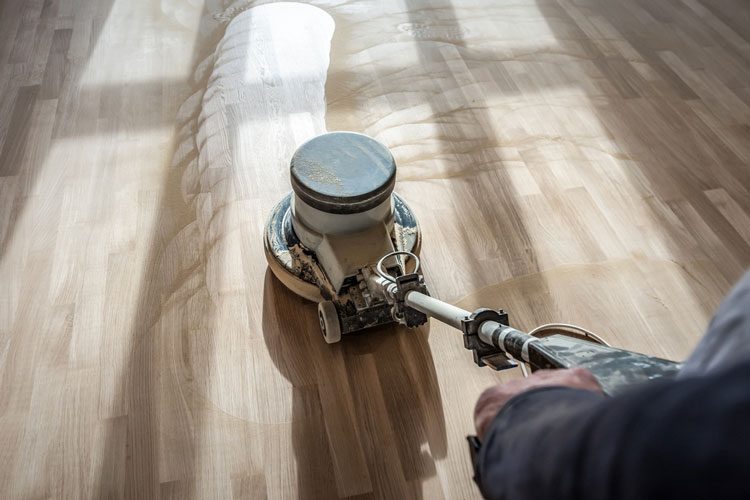
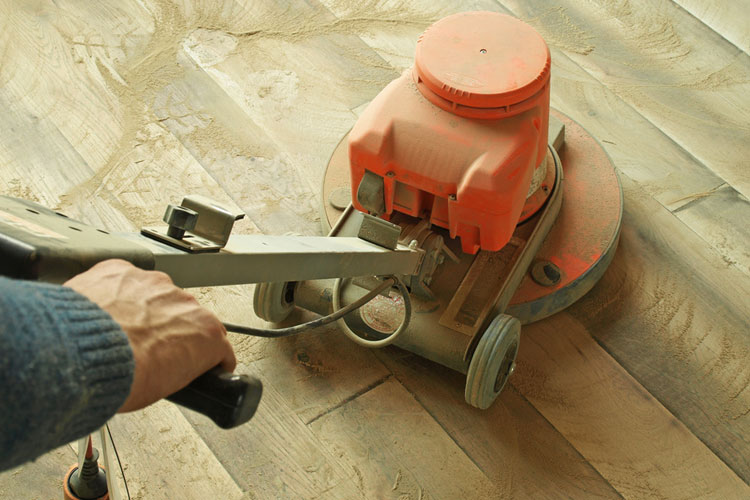
Tip 7: Finish and protect the flooring properly
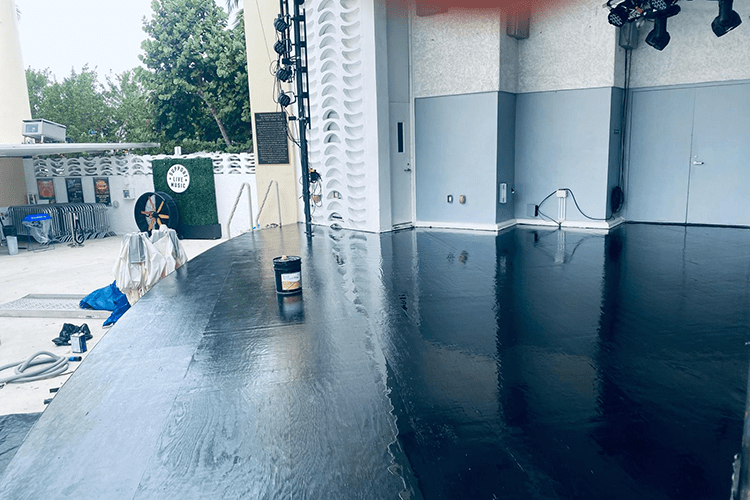
The final step in the installation process is protecting the floor with a high-quality finish. Finishing not only enhances the natural beauty of the wood but also protects it from wear, scratches, and moisture.
- Apply durable sealers or protective coatings
- Allow proper curing time before heavy use
- Use protective pads on furniture to prevent scratches
A strong protective finish helps preserve the flooring’s appearance and ensures long-lasting performance.
Long-term care for hardwood floors
Even after installation is complete, proper maintenance plays a key role in extending the life of hardwood flooring. Regular cleaning, maintaining stable humidity levels, and avoiding excessive moisture all help keep the floor in excellent condition.
Following these Hardwood Floor Installing Tips during installation and maintenance ensures the flooring continues to perform well for decades.
Professional hardwood installation services
Although some homeowners attempt DIY installations, hardwood flooring projects benefit greatly from professional expertise. Experienced installers understand the technical requirements of different wood types, subfloors, and environmental conditions.
US Hardwood Floors provides professional hardwood flooring installation services designed to deliver durable, visually stunning results. Their team follows proven installation methods, ensures proper preparation and moisture control, and uses high-quality materials to create floors that last for years. With their expertise, homeowners can feel confident that their flooring investment is installed correctly and built to withstand everyday use. Call 954-295-0977
Frequently Asked Questions
How long does hardwood floor installation take?
The timeline depends on the size of the project and the condition of the subfloor, but most installations can be completed within a few days once preparation is complete.
Do hardwood floors increase home value?
Yes. Hardwood flooring is considered a desirable feature and can increase the overall value and appeal of a home.
Can hardwood floors be installed over concrete?
Yes, hardwood floors can be installed over concrete using glue-down methods or engineered hardwood systems designed for that surface.
How long do hardwood floors last?
With proper installation and maintenance, hardwood floors can last several decades and may even last the lifetime of the home.
